Hope Artiste Village Pawtucket, RI
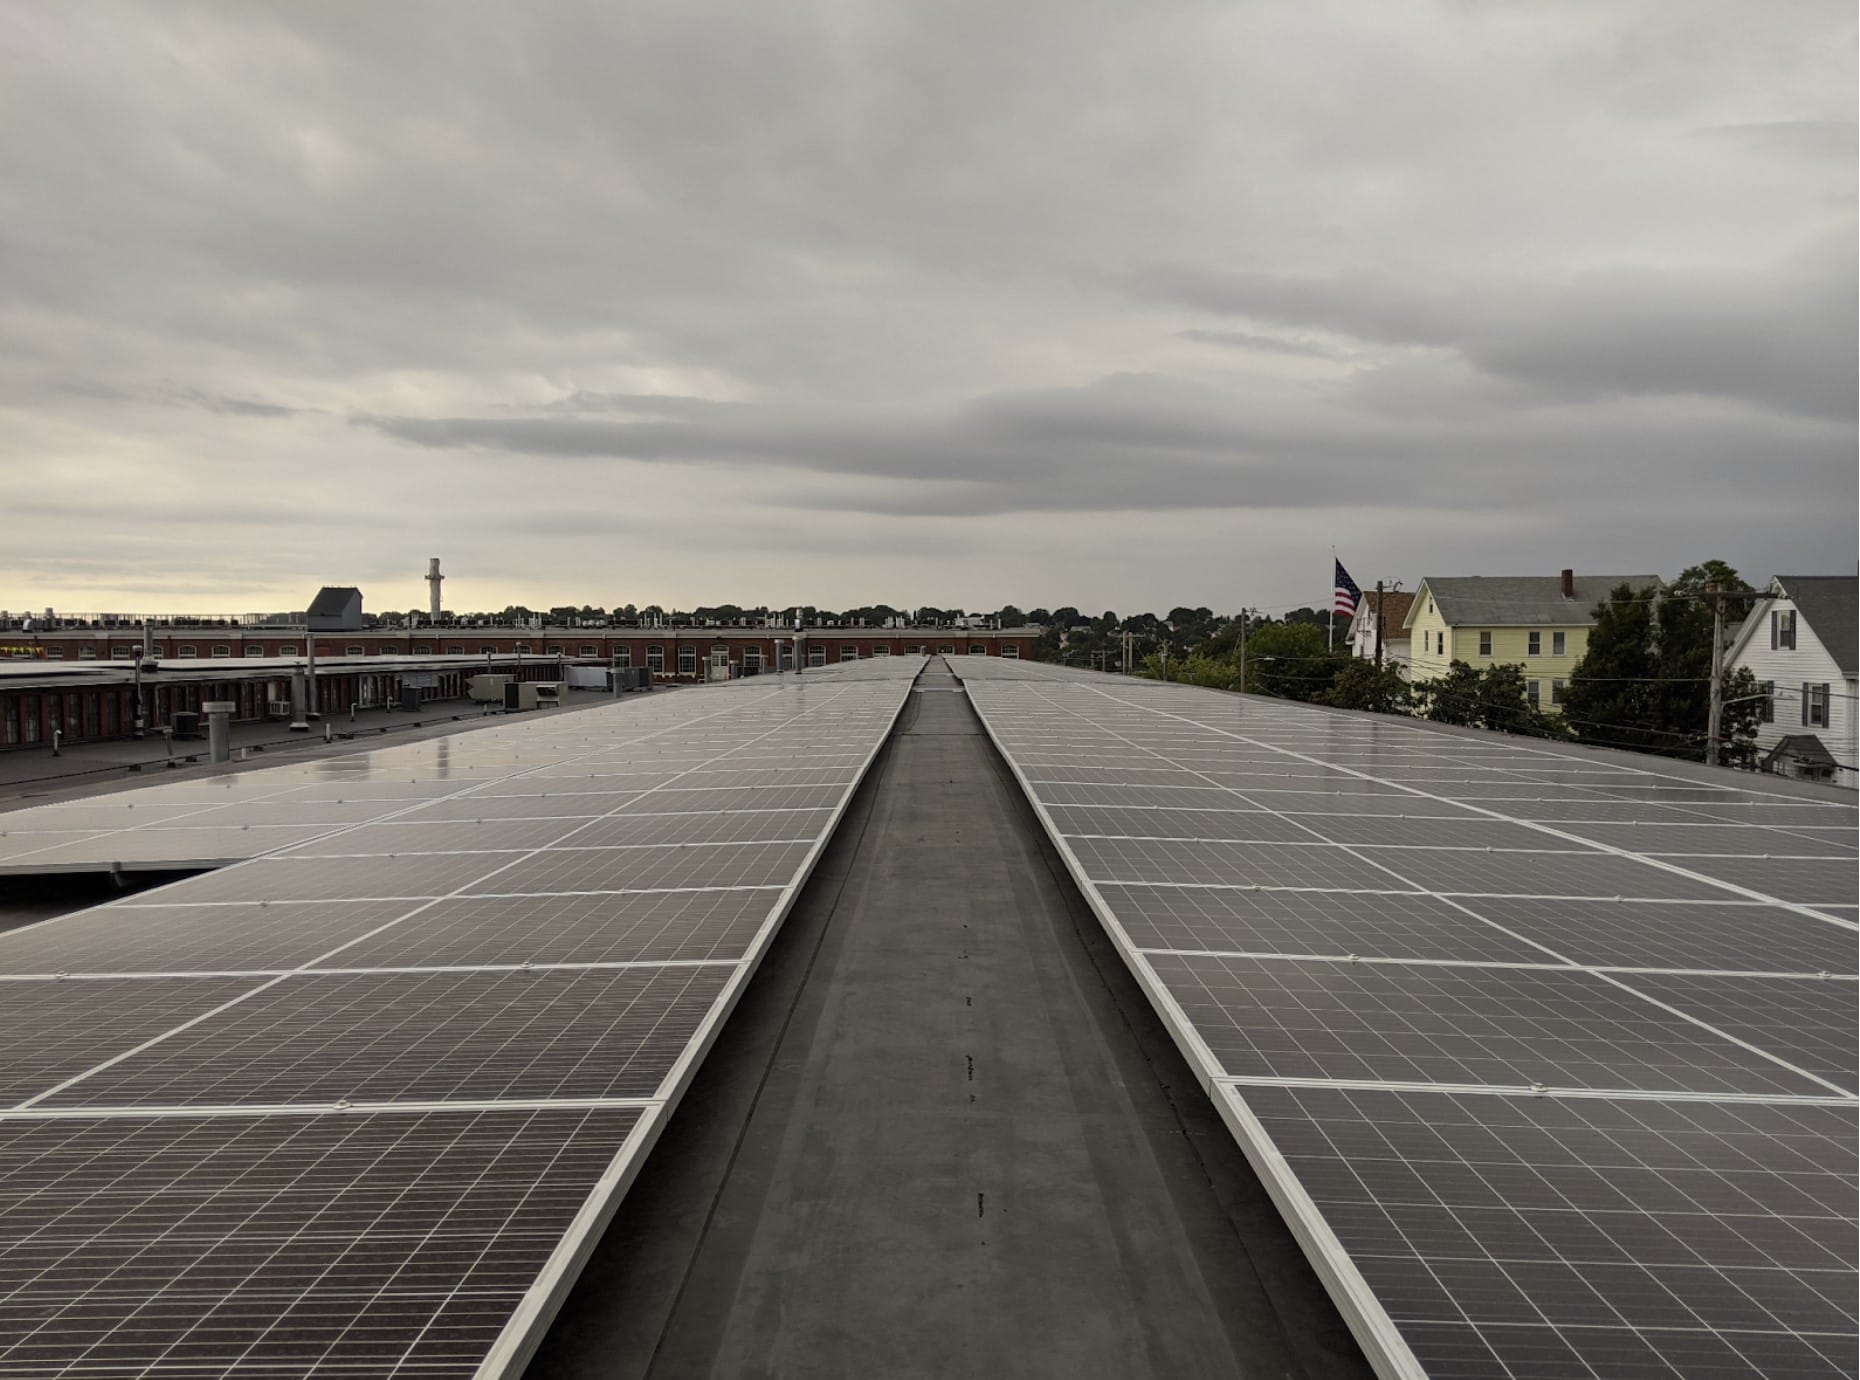
Hope Artiste Village, one of the largest successful mill restoration projects in Rhode Island, is a hub of cultural activity fostering collaboration and innovation among a diverse community of creatives and professionals. Located on Main Street in Pawtucket, the Village hosts a creative mix of art studios, live/work lofts, retail shops, light industrial workshops and professional office suites. This thriving mill space boasts cafes, a coffee roaster, a live music venue, fitness studios, designers, artisans, event spaces and an array of indoor neighborhood marketplace gatherings.


Like many other businesses, the Village was looking for a way to reduce costs on their electricity bill while utilizing the strong bones and large roof the structure offered. Solar was the answer for the Village and below I will walk you through each step of our installation process for one of our favorite Rhode Island Projects.
This solar power project pays for itself, read more about RI solar project ROI calculation.
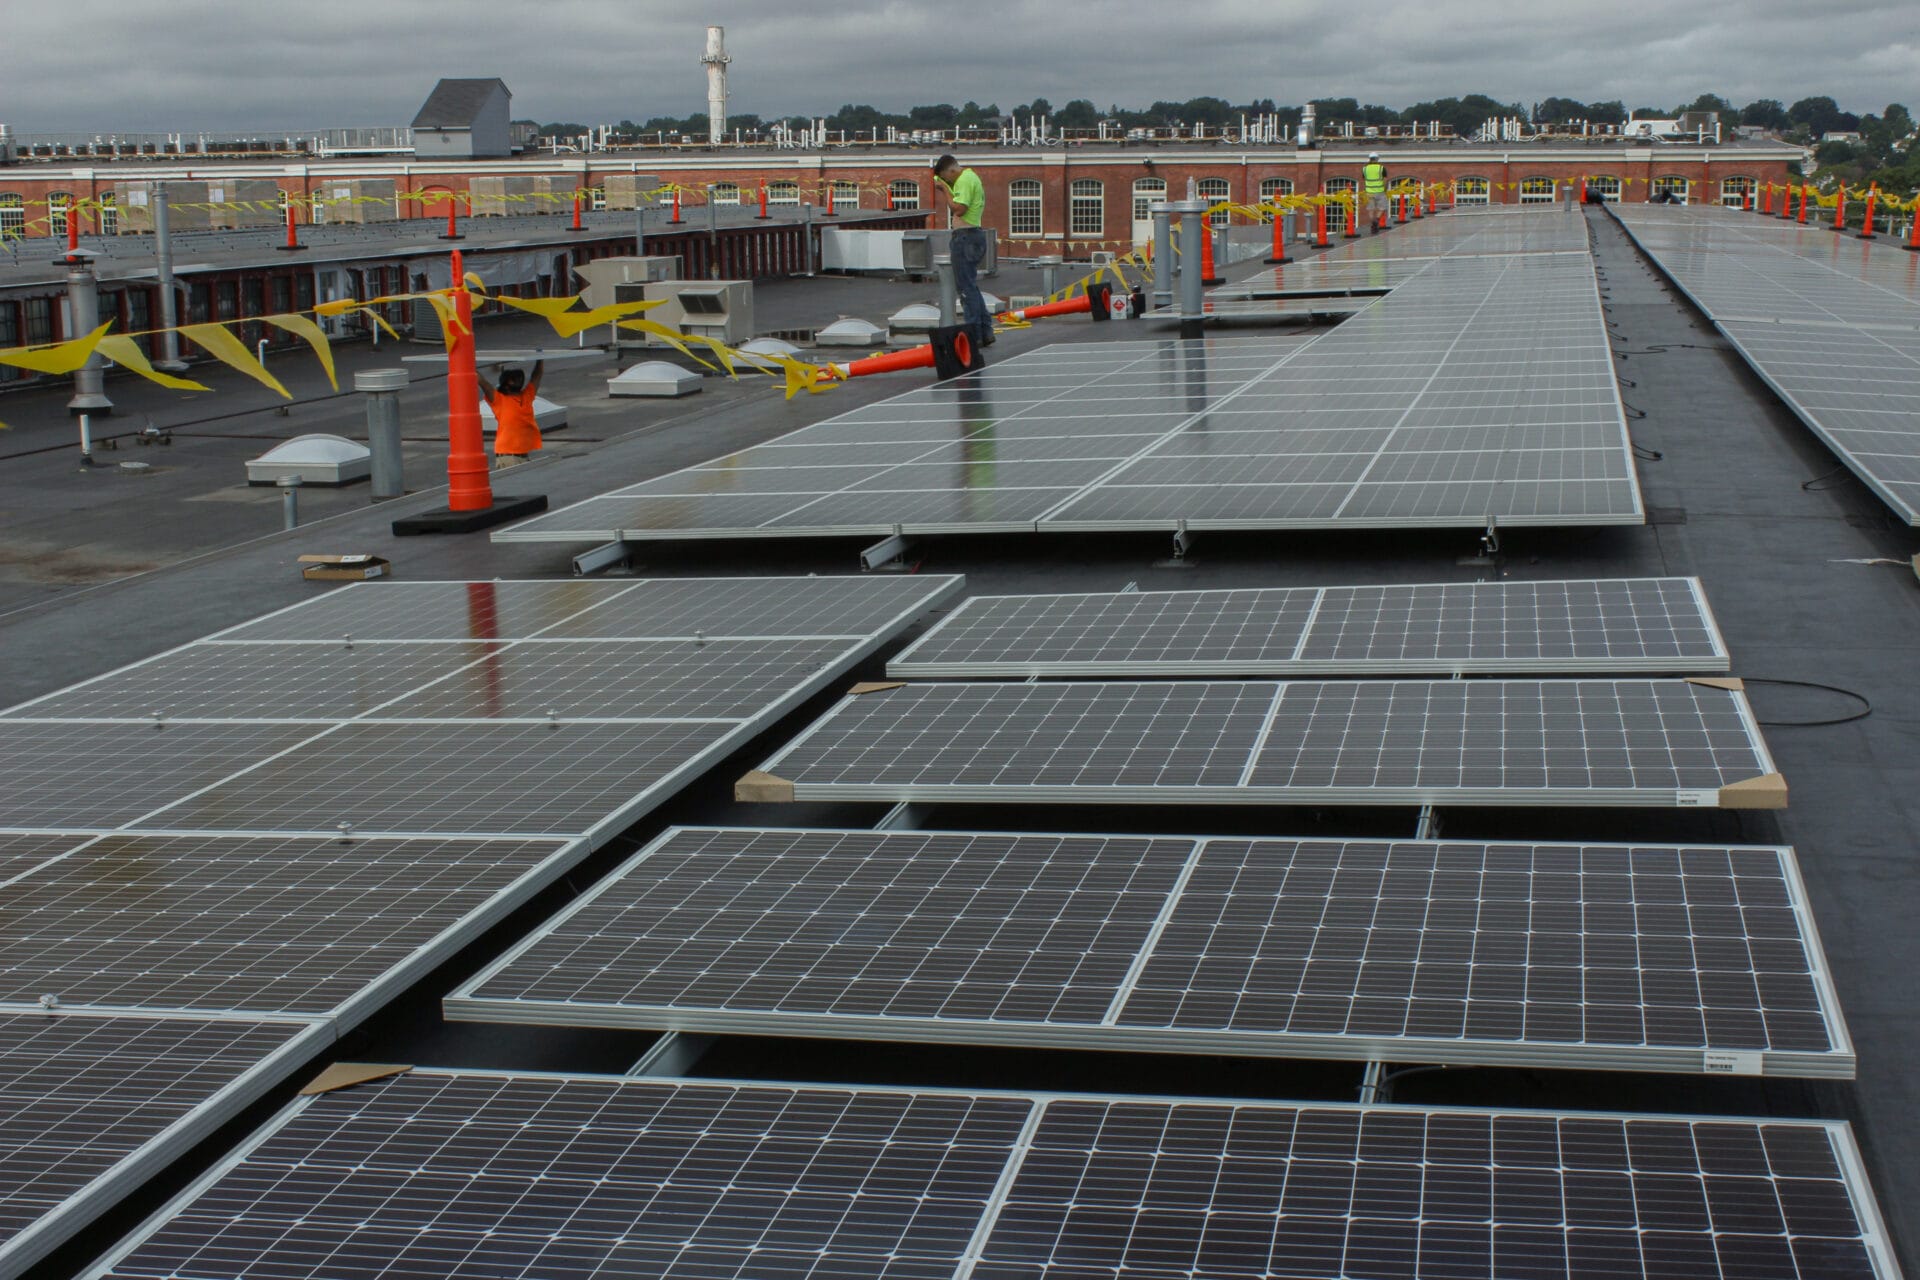
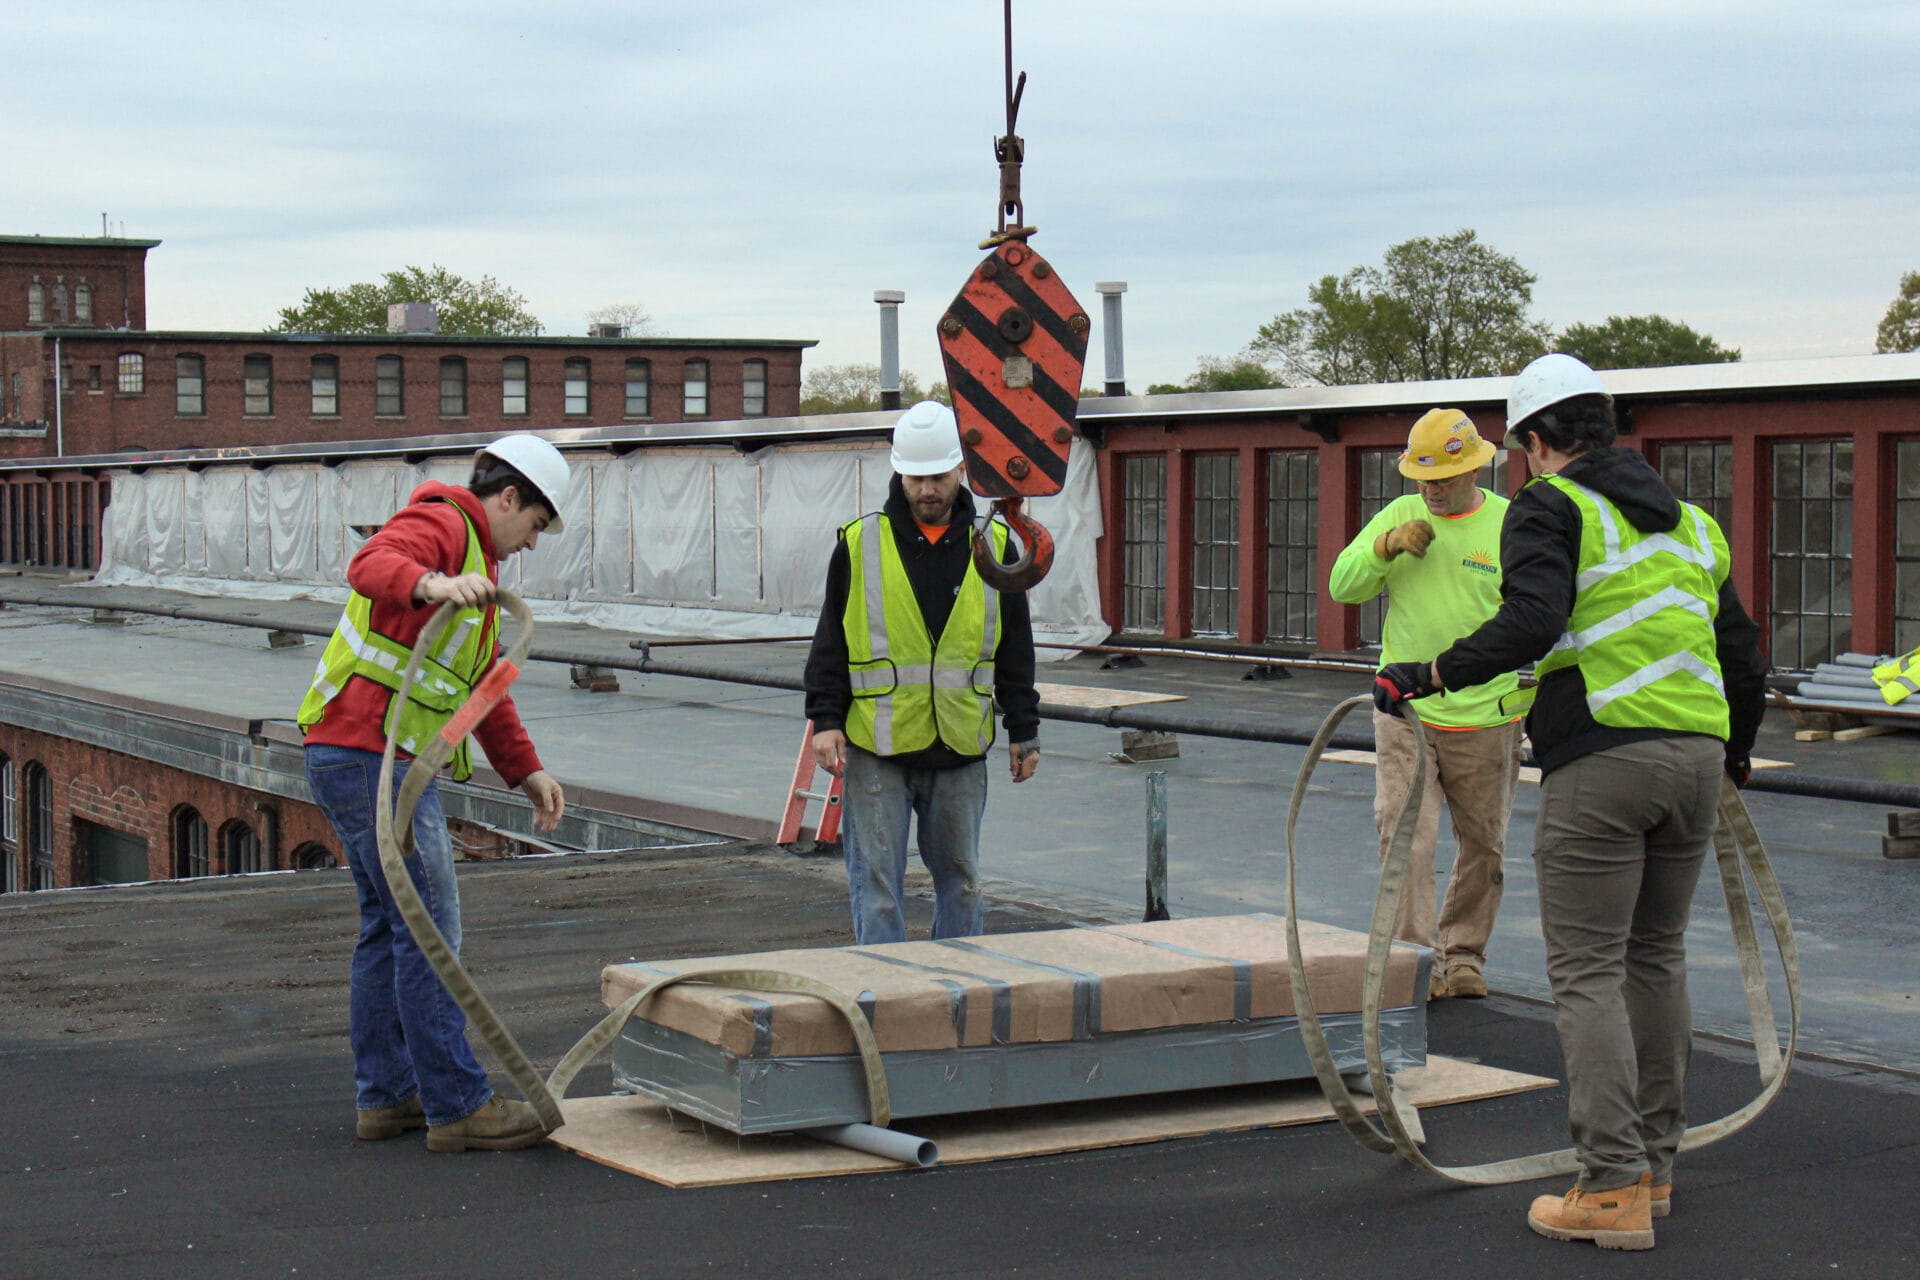
The project installation process started by getting material onto the roof. The large size of the structure – multiple city blocks across – meant that the crane had to be moved to several locations to smartly load the hardware.
Lots of rooftop pipes and other equipment meant it was required to move the crane around to place the pallets as moving them on the roof was not possible, and because we could have damaged the plastic roof protecting material.
Once the hardware is on the roof and starting to be moved around, we need to attach the solar modules to the roof. Because the structure wasn’t built to carry high weight loads, we were required to mechanically attach the system to the roof. Mechanical attachment of solar panels is a multi-step process.
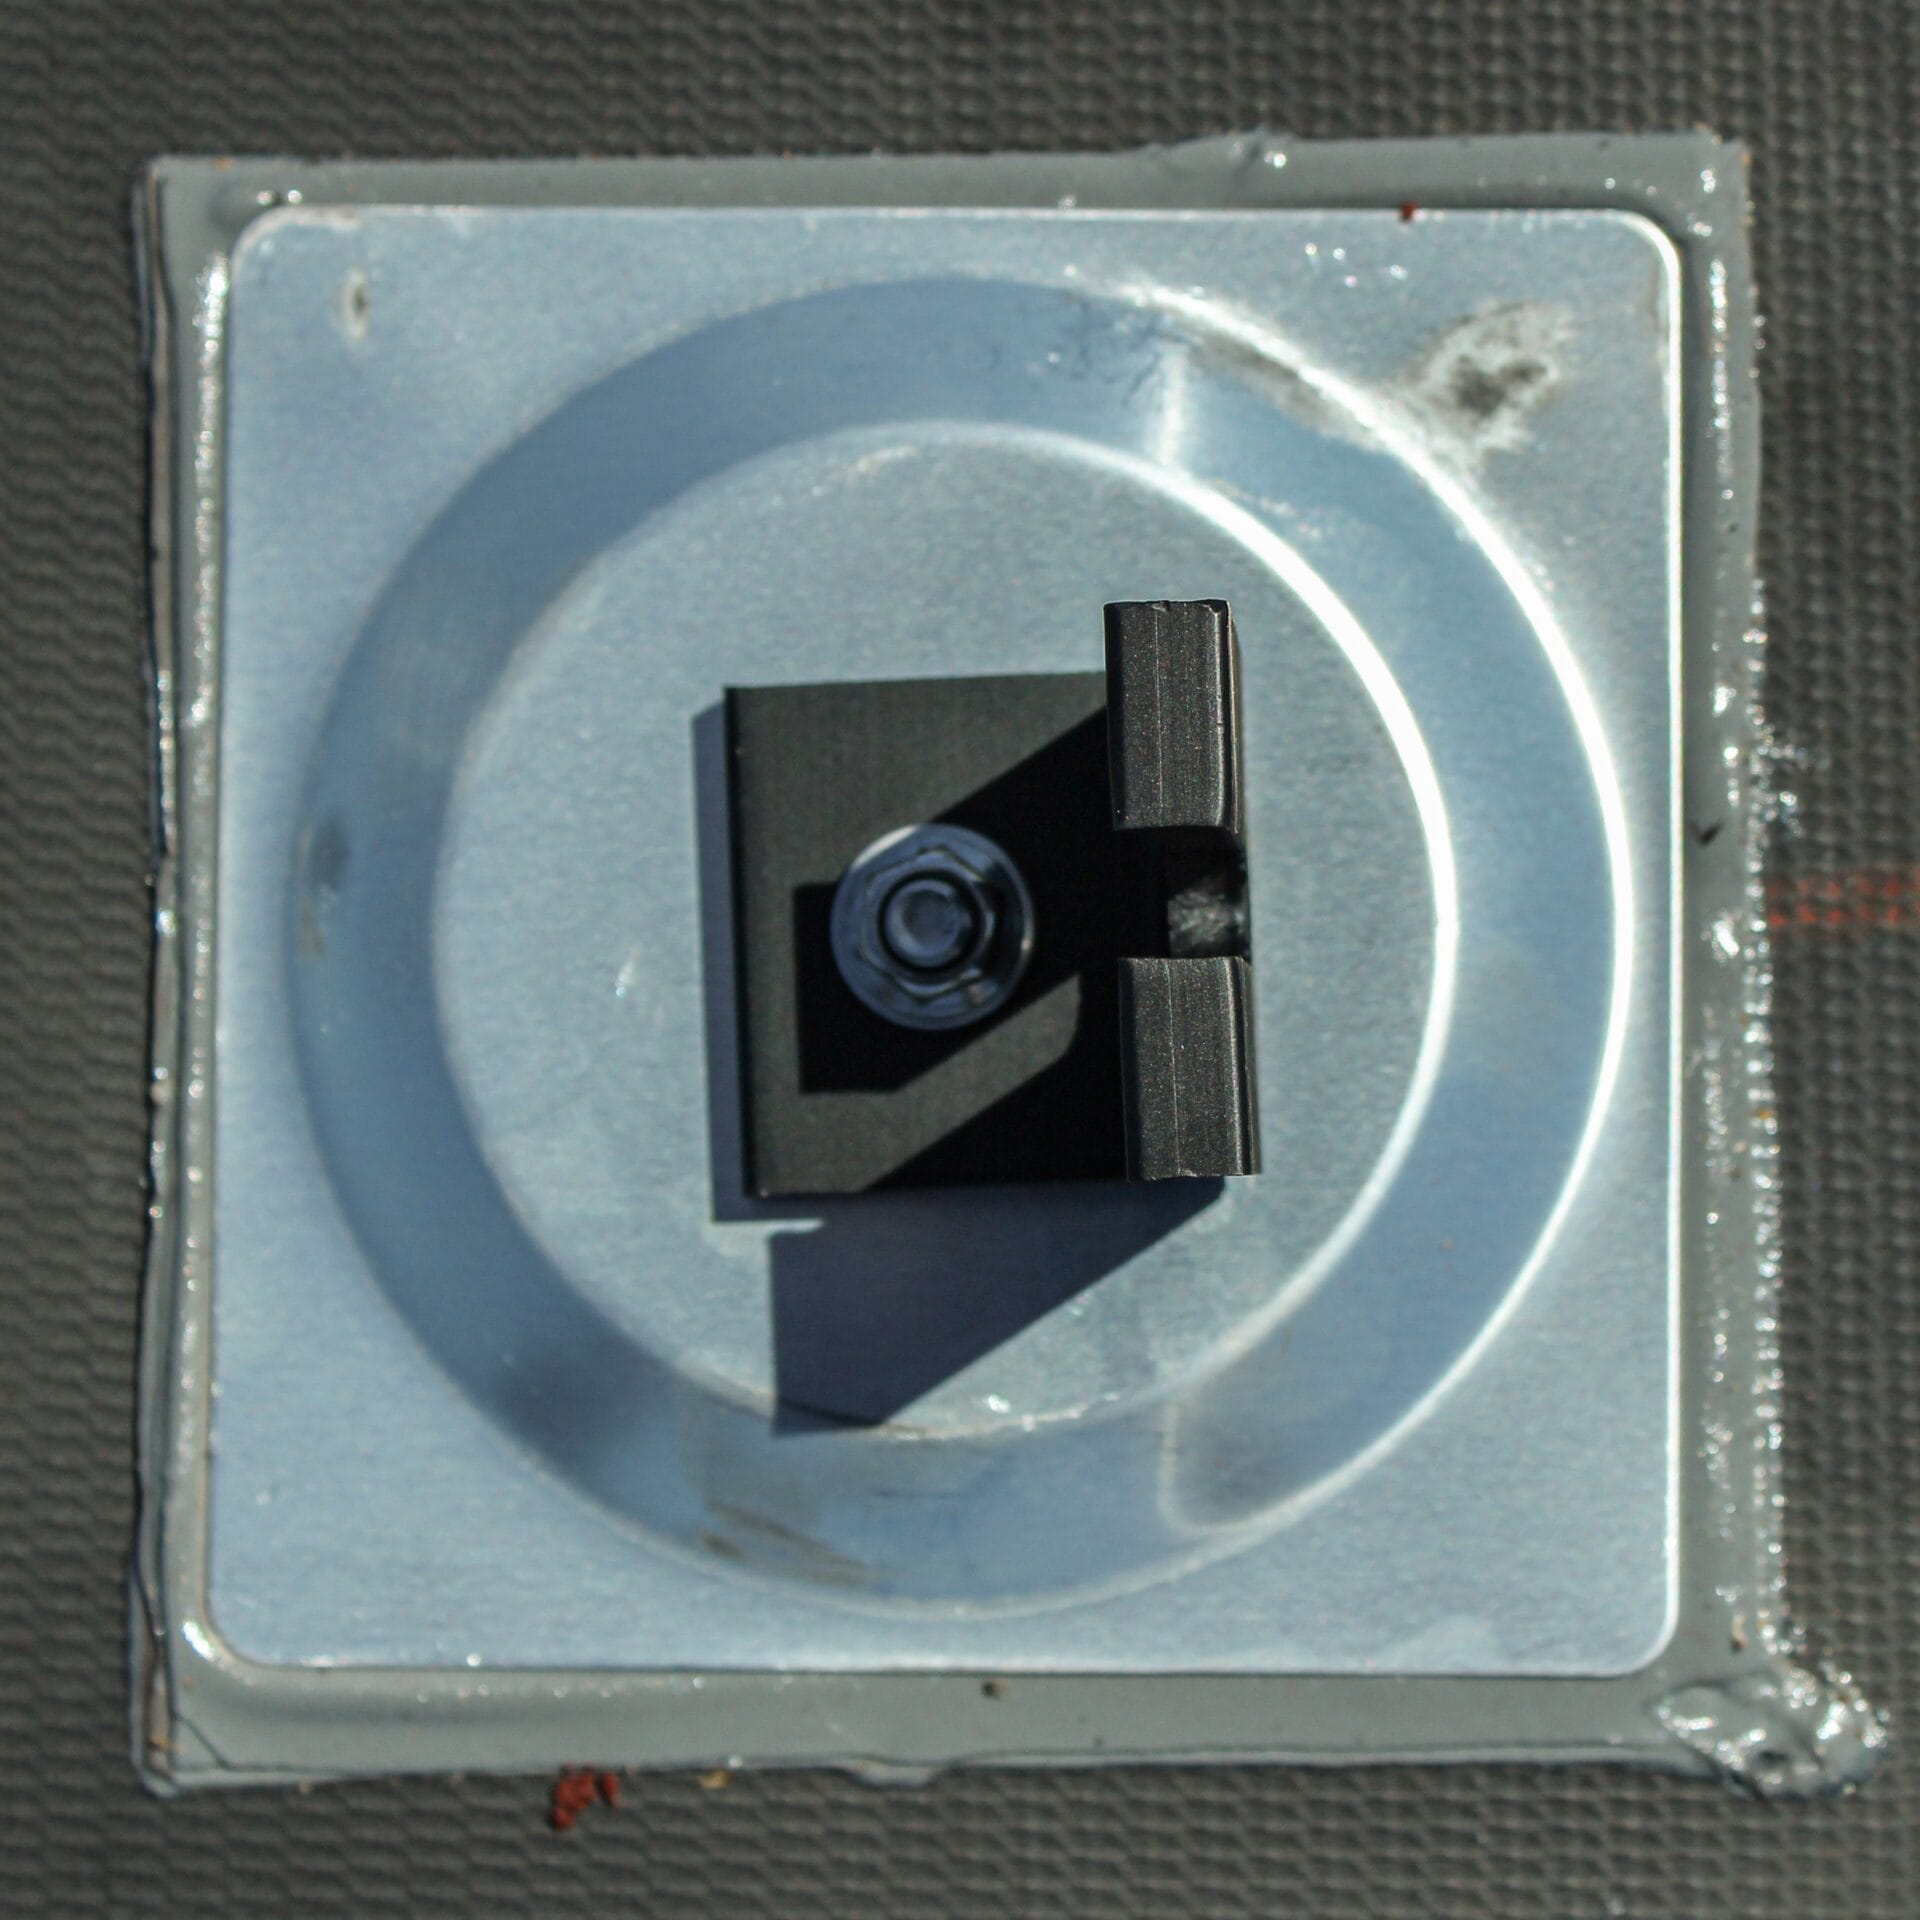
First you need to put down a gray material that is both a sealant and also a glue like material. The sealant is important because it will fill up any spaces that water could squeeze into. This product must last for decades as well.

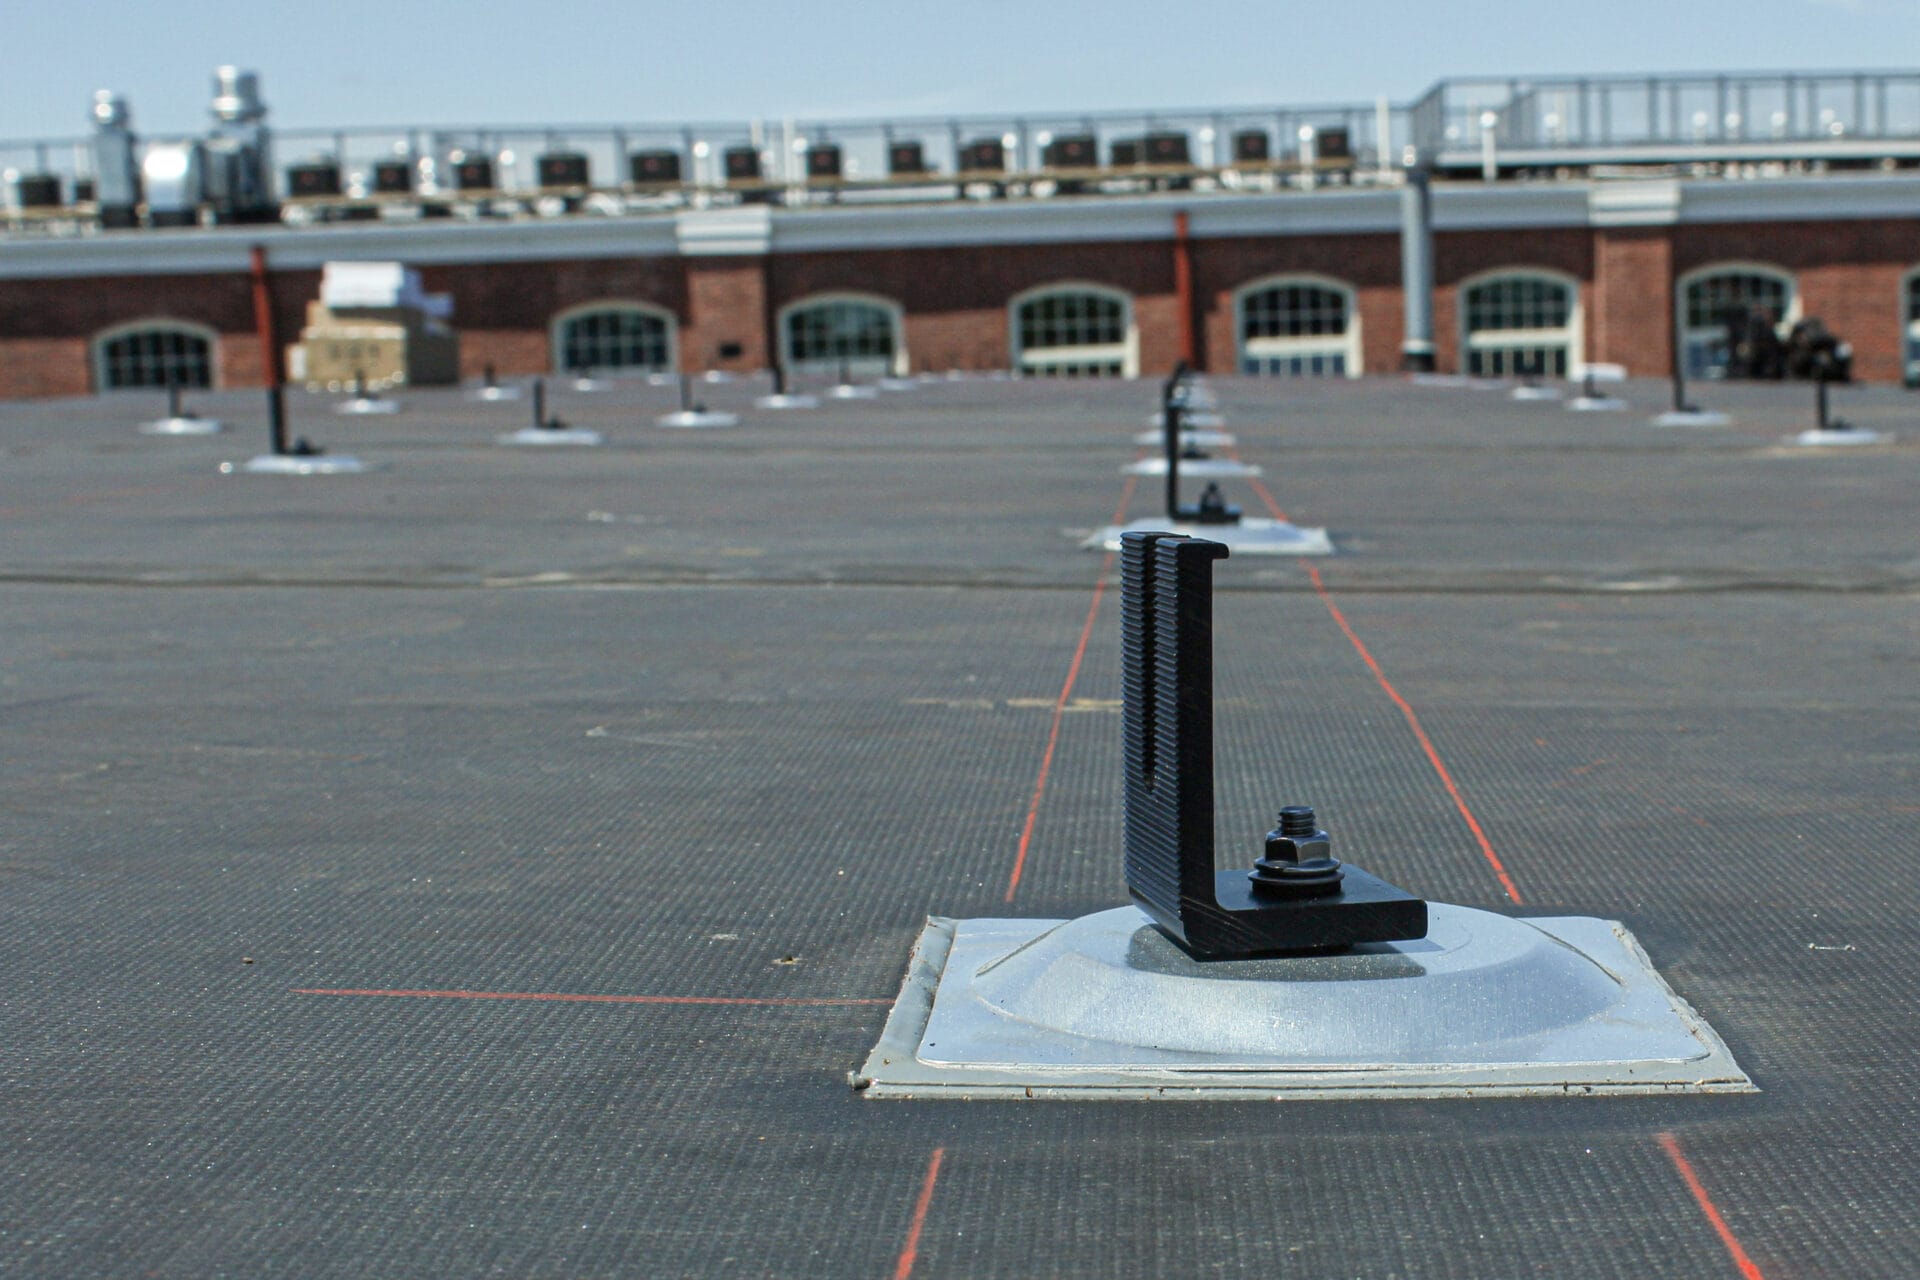
On top of the sealant material, we’d use a thin piece of silver metal called a “flashing”. This piece is specifically designed to keep water out when it bonds with the sealant underneath. As well, the black colored “L foot” is then attached to the flashing. It is attached with a lag bolt that goes through the flashing, through the sealant, and into the roof. This lag bolt, and thousands like it, are what keep the solar modules and associated hardware connected to the roof.
This mechanical attachment hardware connects the solar panels and racking to the roof in a way that can handle wind speeds in excess of 130 miles per hour.
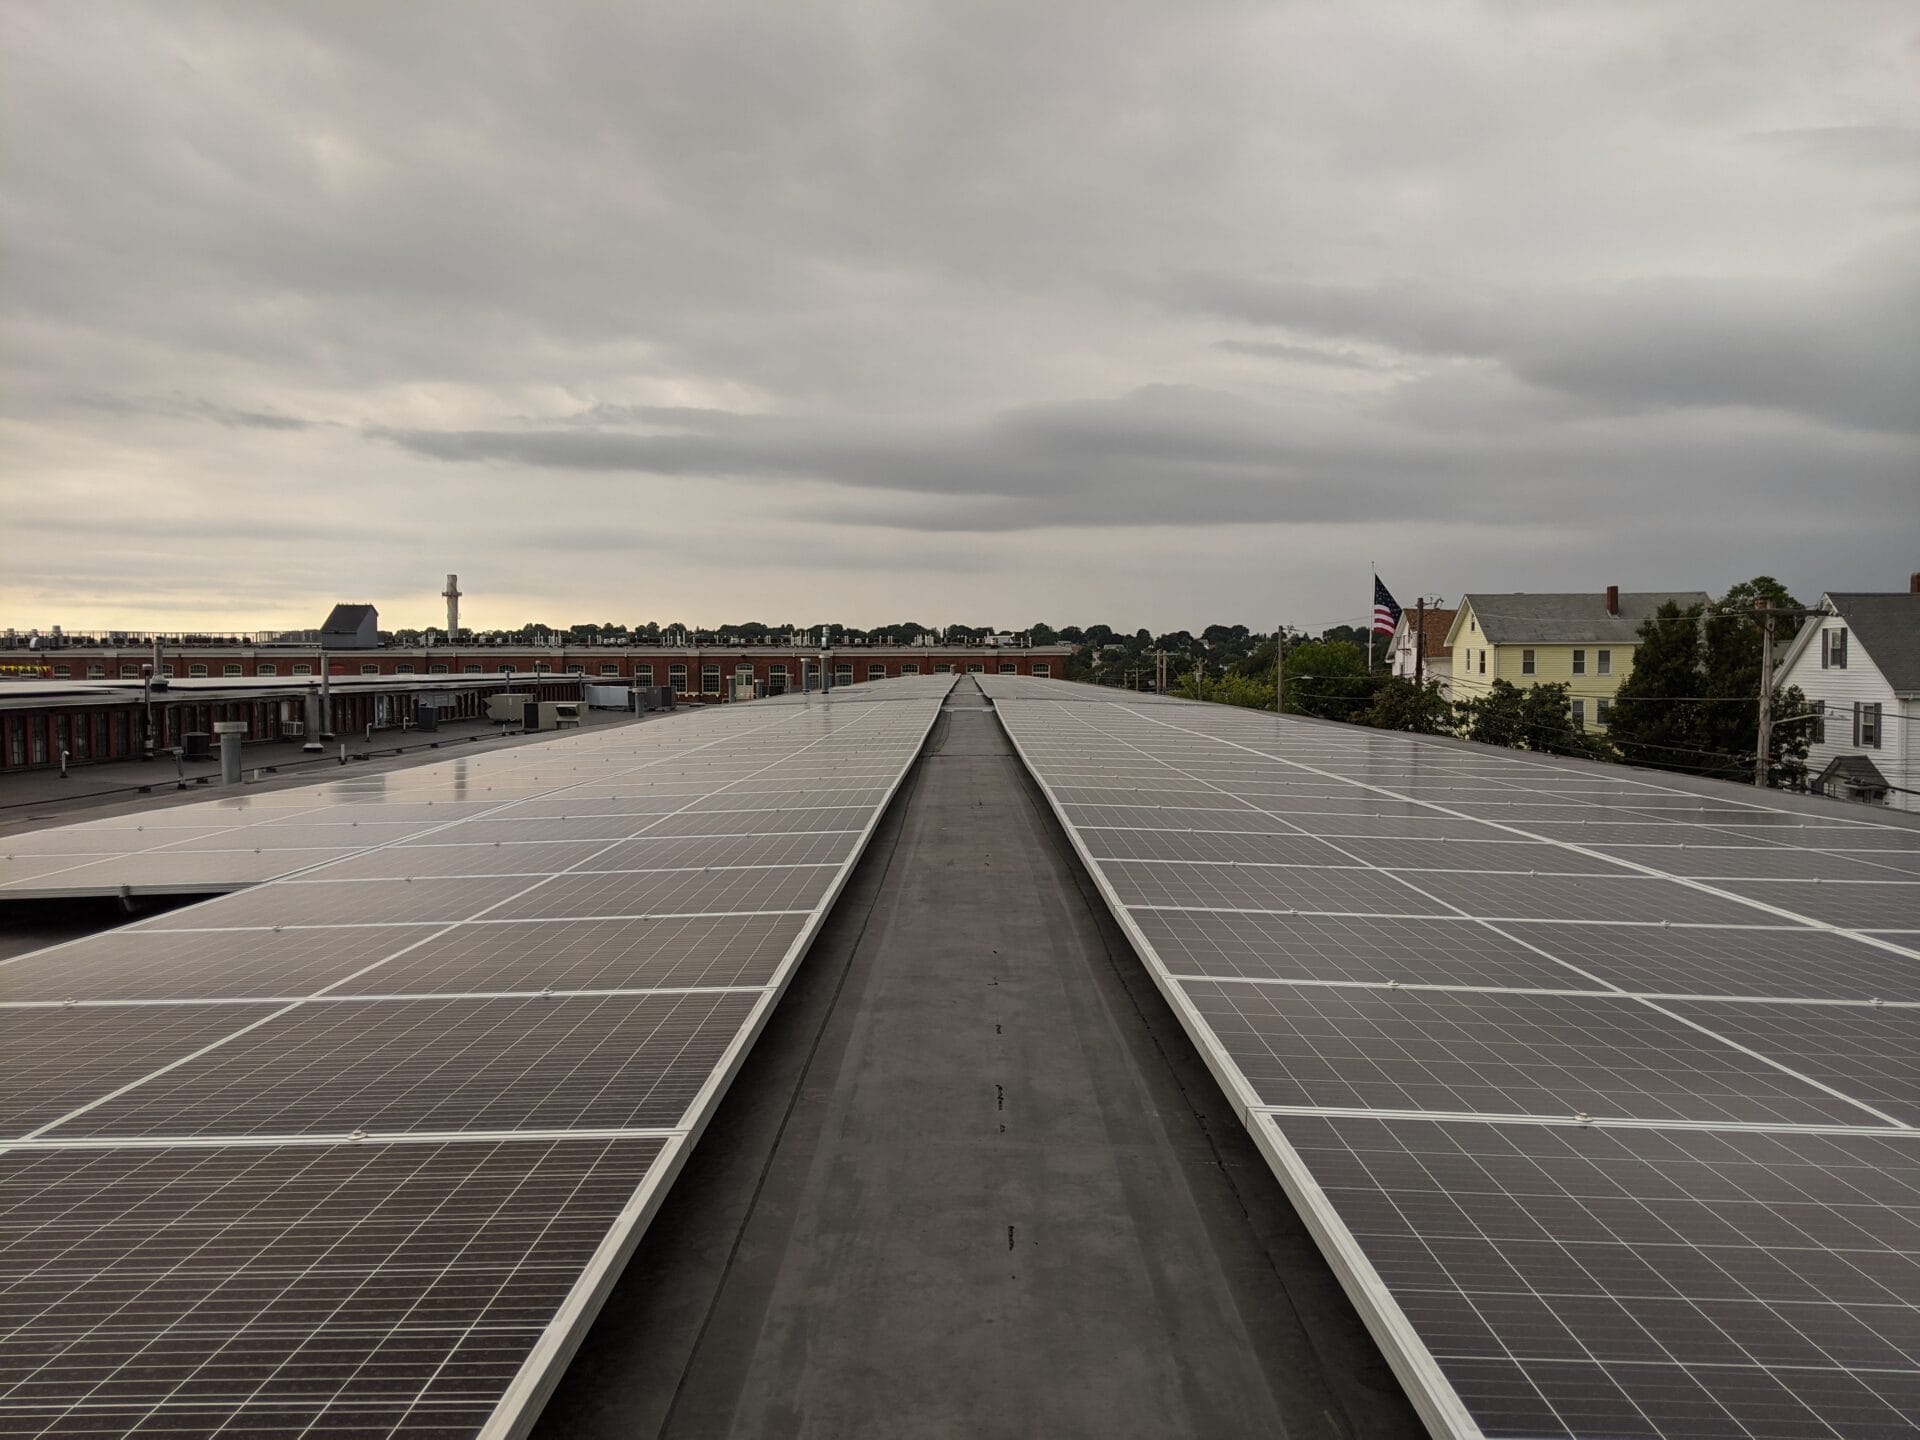
The solar racking hardware is made out of aluminum to keep it light, but it’s also thick enough that it’ll hold on during heavy wind events. These pieces are called “rails”. The connect to the L Foot, and the solar panel.


On top of the sealant material, we’d use a thin piece of silver metal called a “flashing”. This piece is specifically designed to keep water out when it bonds with the sealant underneath. As well, the black colored “L foot” is then attached to the flashing. It is attached with a lag bolt that goes through the flashing, through the sealant, and into the roof. This lag bolt, and thousands like it, are what keep the solar modules and associated hardware connected to the roof.
This mechanical attachment hardware connects the solar panels and racking to the roof in a way that can handle wind speeds in excess of 130 miles per hour.
The solar racking hardware is made out of aluminum to keep it light, but it’s also thick enough that it’ll hold on during heavy wind events. These pieces are called “rails”. The connect to the L Foot, and the solar panel.
For a large solar power project, there might be hundreds or even thousands of these individual rails. The rails are generally “extruded” inside the United States and shipped by truck.
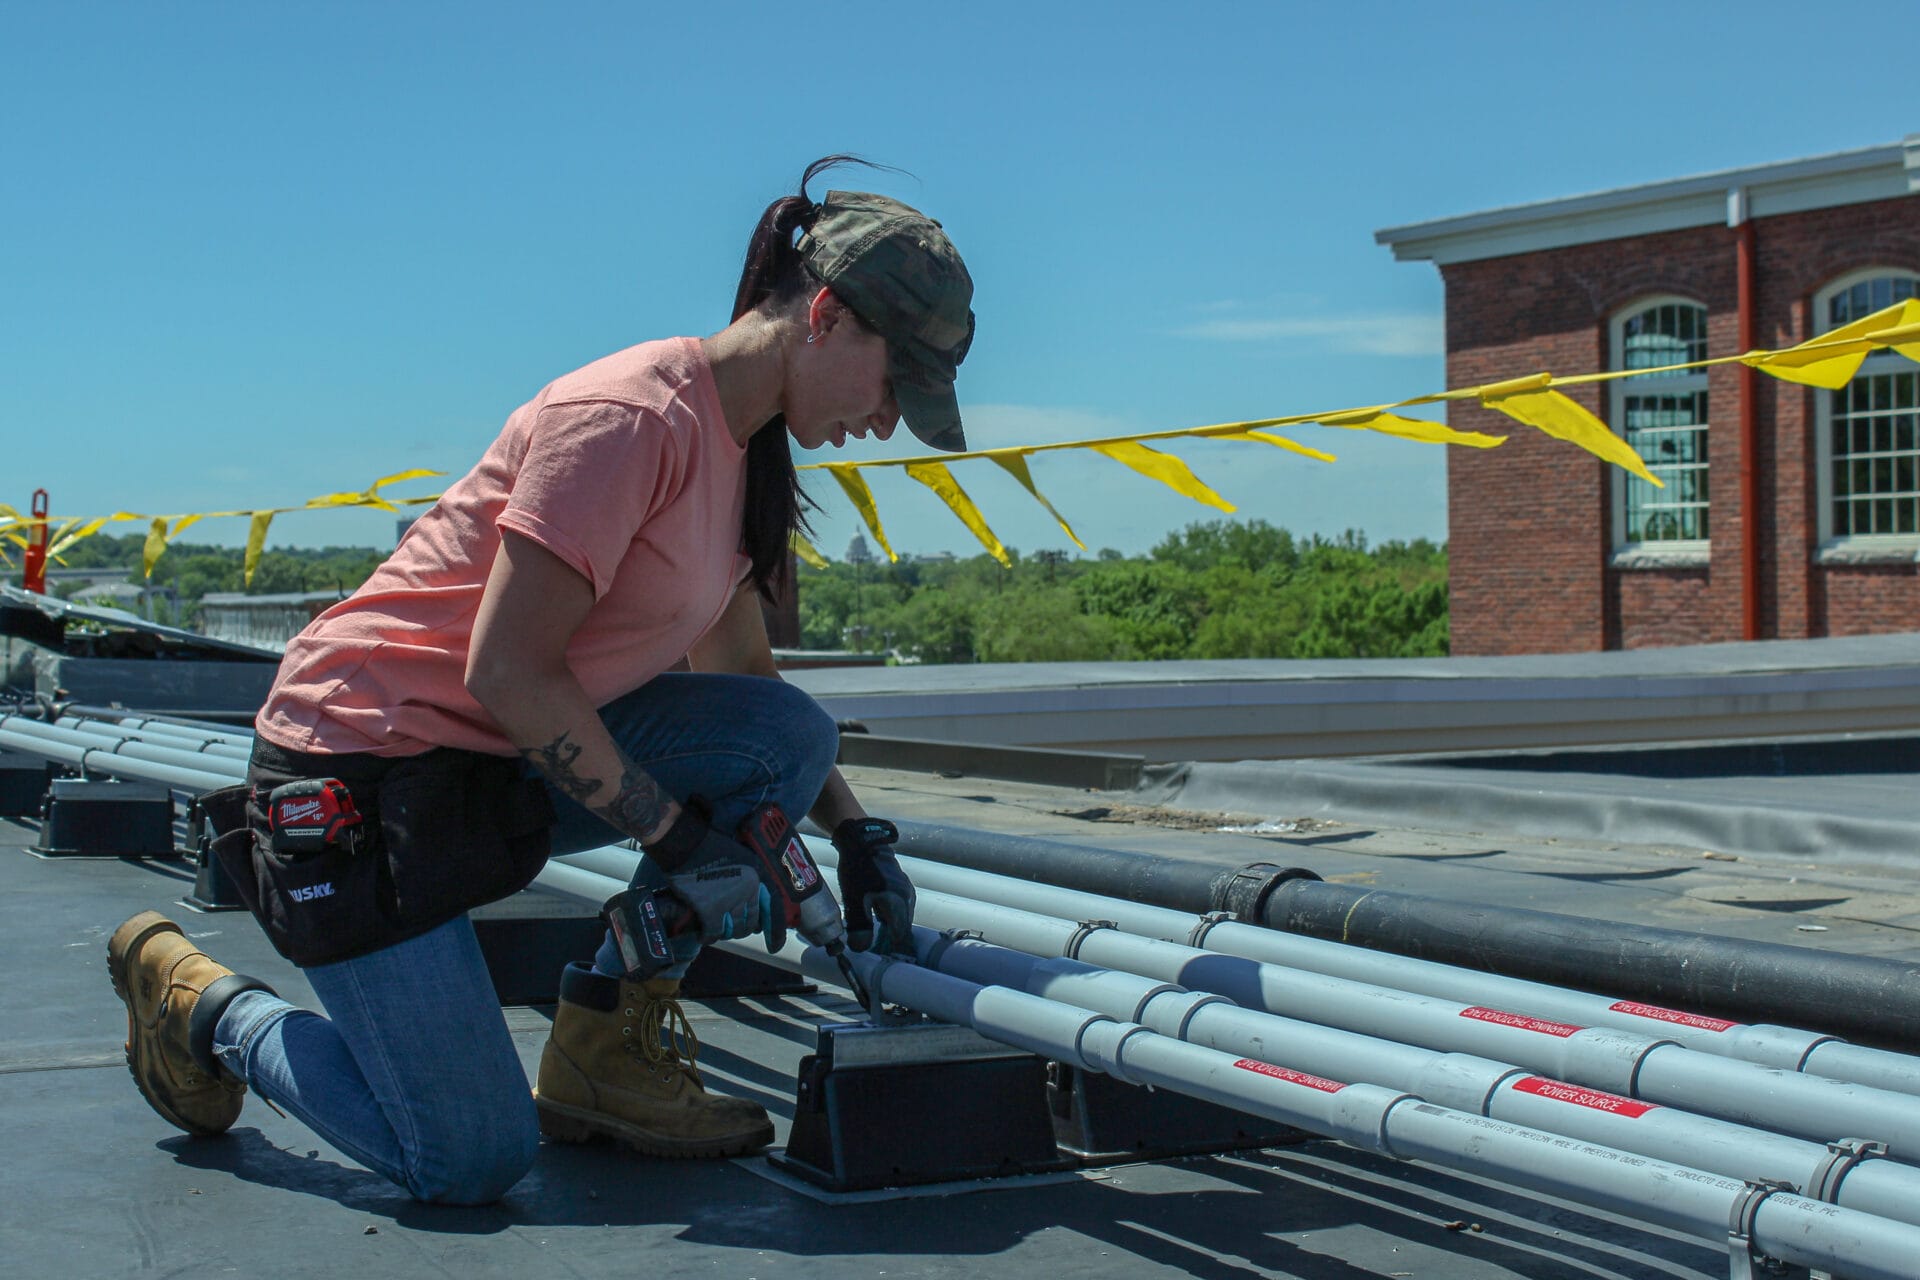
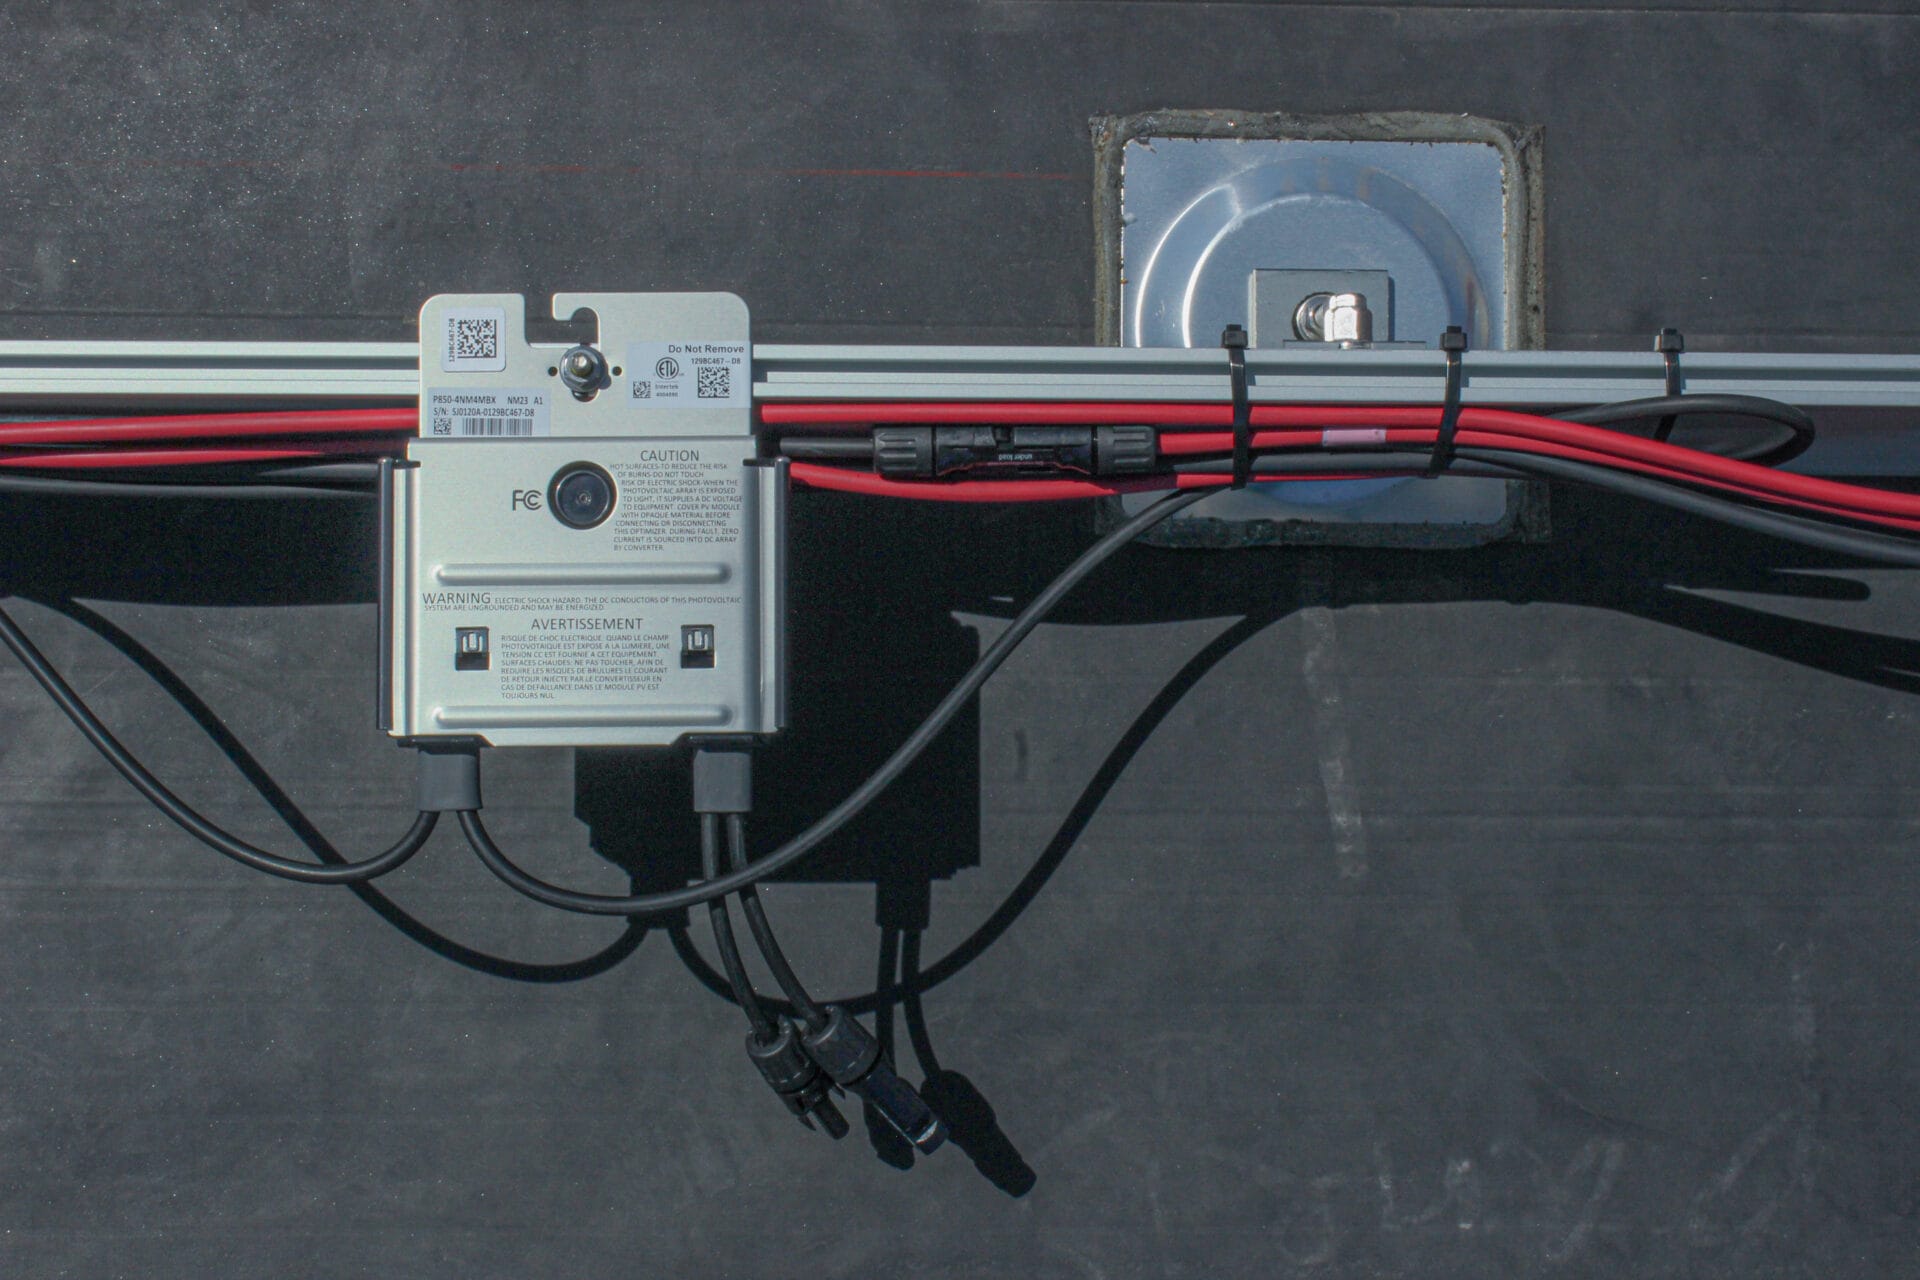
After the rails are put down, we’ll begin the process of wiring the solar panels, and installing what are called “optimizers.”
Solar panels are typically wired in a configuration known as a “string,” where multiple panels are connected in series. This setup enhances the voltage output, enabling it to match the inverter’s requirements for efficient energy conversion. When panels are connected in series, the voltage adds up, while the current remains constant.
The wire size used in the installation is crucial; it must be sufficiently large to handle the current without significant losses and to ensure safety. The selection of wire size also considers the length of the cable run, as longer distances can lead to more significant voltage drops. Moreover, the wiring is protected against environmental factors and insulated to prevent energy loss and ensure durability. Such configurations are key to maximizing efficiency and safety in solar panel installations.
The optimizers – the metal box seen in the above image – is required in Rhode Island to protect against first responders, and to help each solar panel output as much as it can. The above unit is made by SolarEdge.
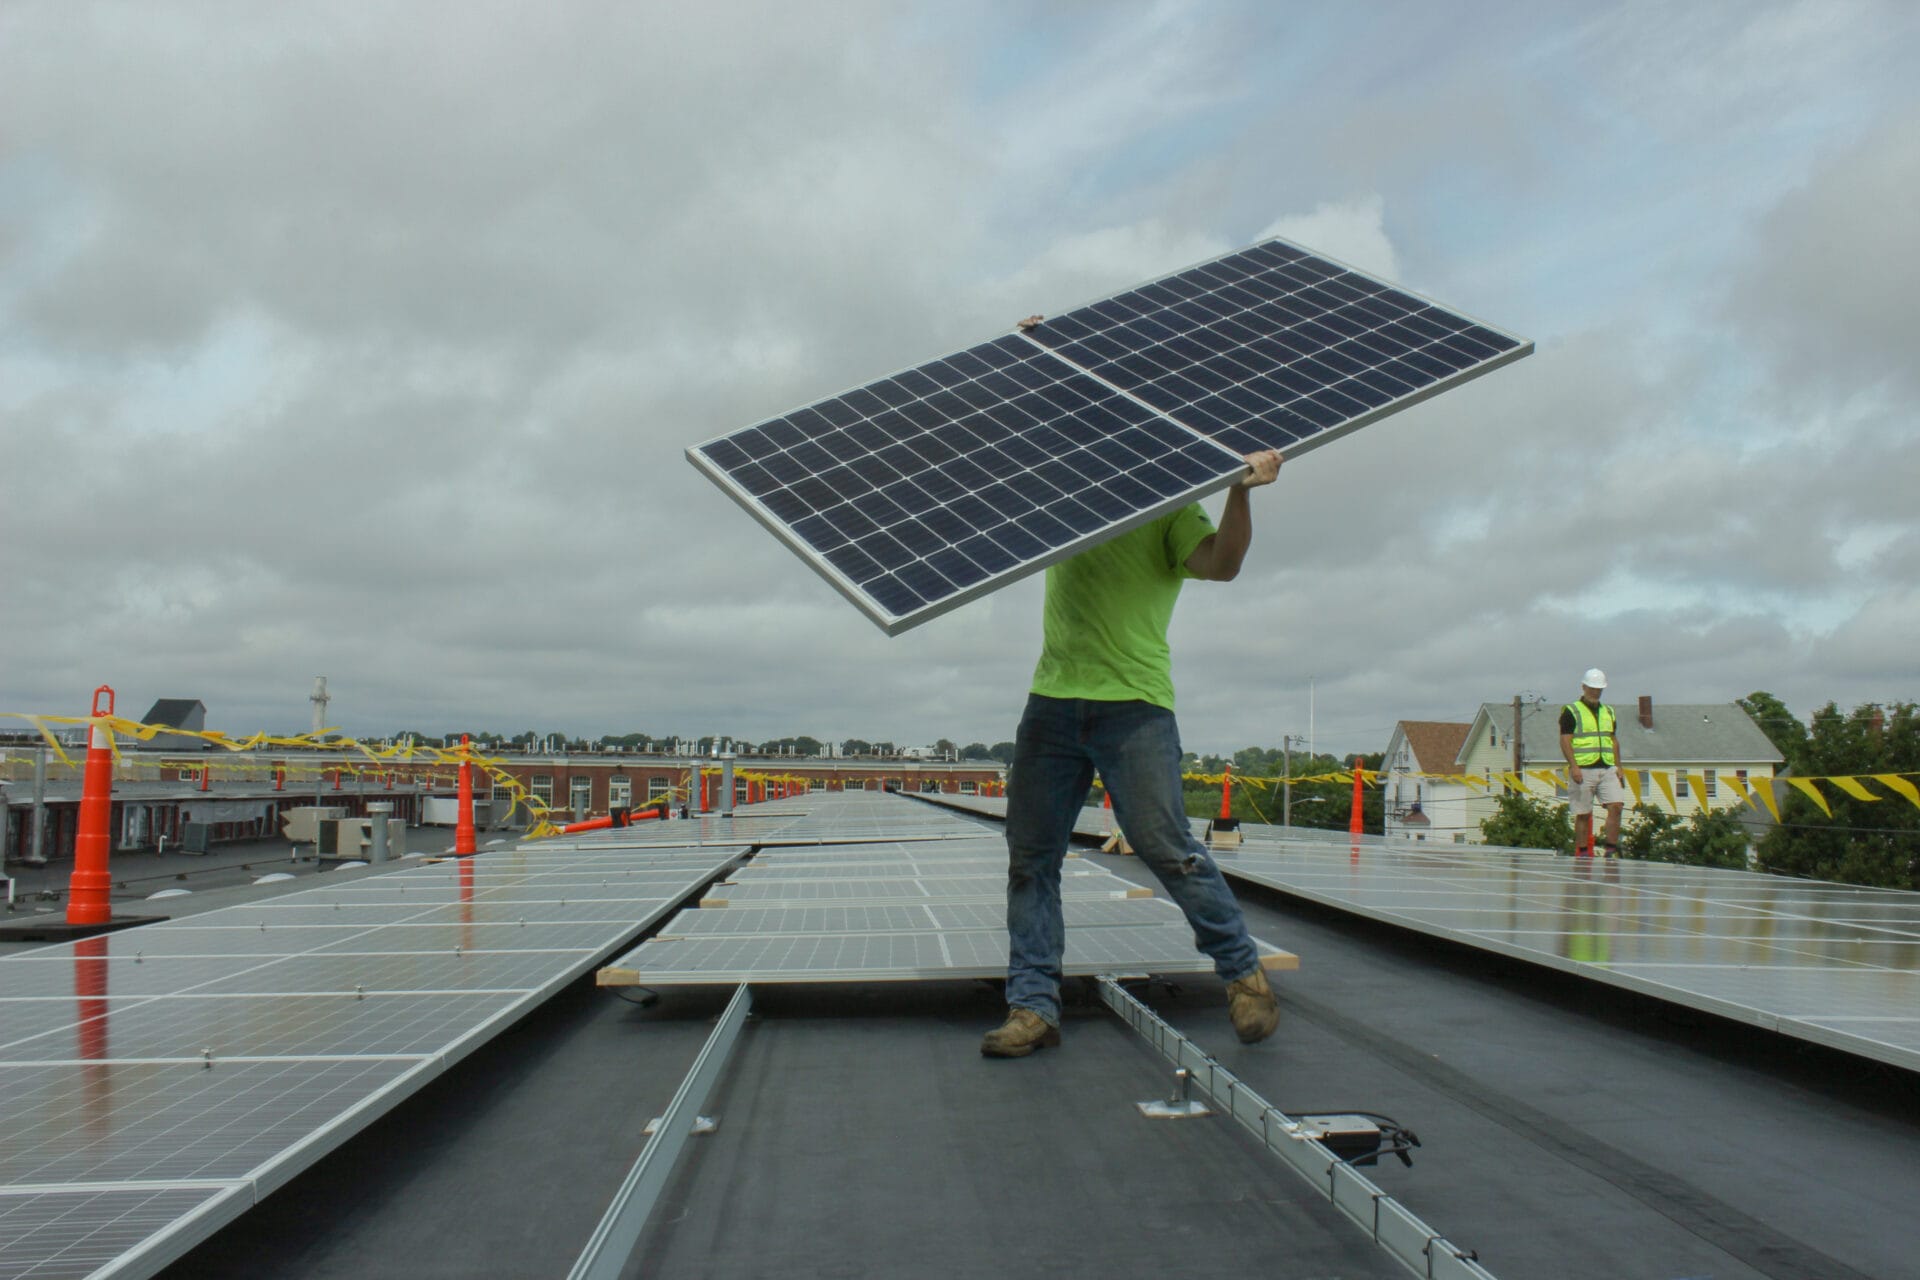
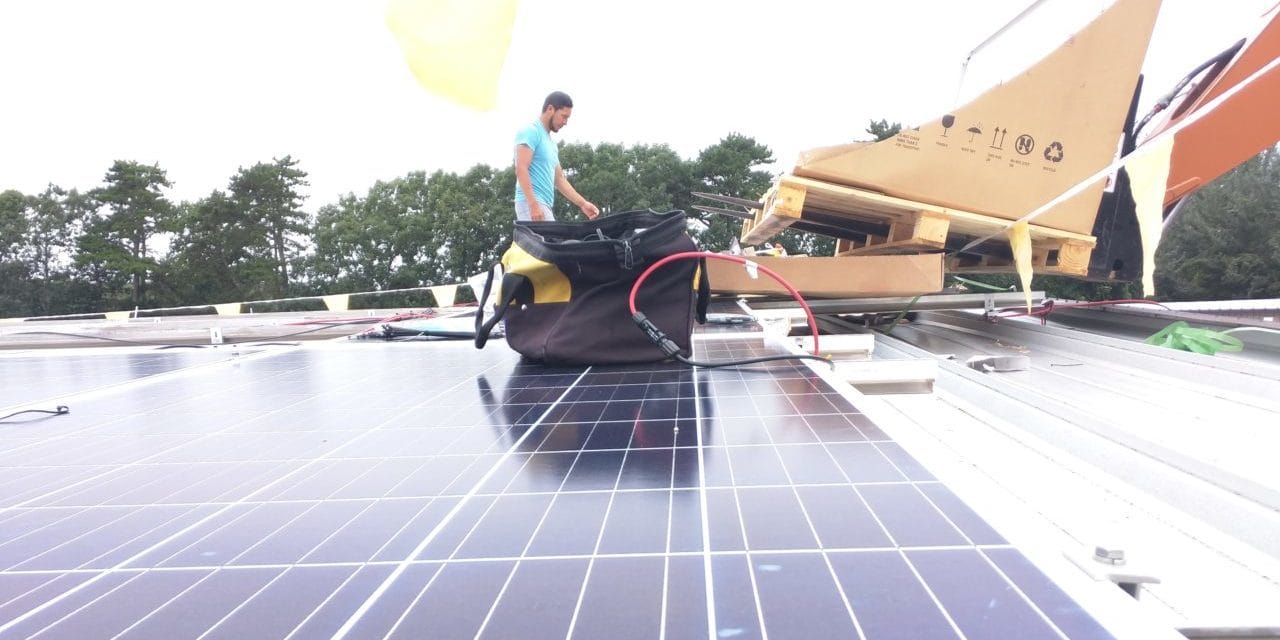
After wiring the inverter is complete, we’ll begin to install the solar modules.


The solar module is placed onto the racking. Clamps, which are specially designed for the specific module thickness, are used to fasten the module to the racking. These clamps are typically attached at the edges of the module, applying pressure to hold it in place without damaging it. It’s crucial to follow the manufacturer’s torque specifications when tightening the clamps to avoid over-tightening, which could damage the module or under-tightening, which might lead to instability. Additionally, grounding clips or wires may be used to properly ground the module to the racking for electrical safety.
Interestingly, solar panels are one of the most stable parts of a commercial solar installation – even though they’re facing the sky and have to deal with hail. According to government research, somewhere between 0.2 to 0.002% of solar panels need to be replaced once they’re deployed.
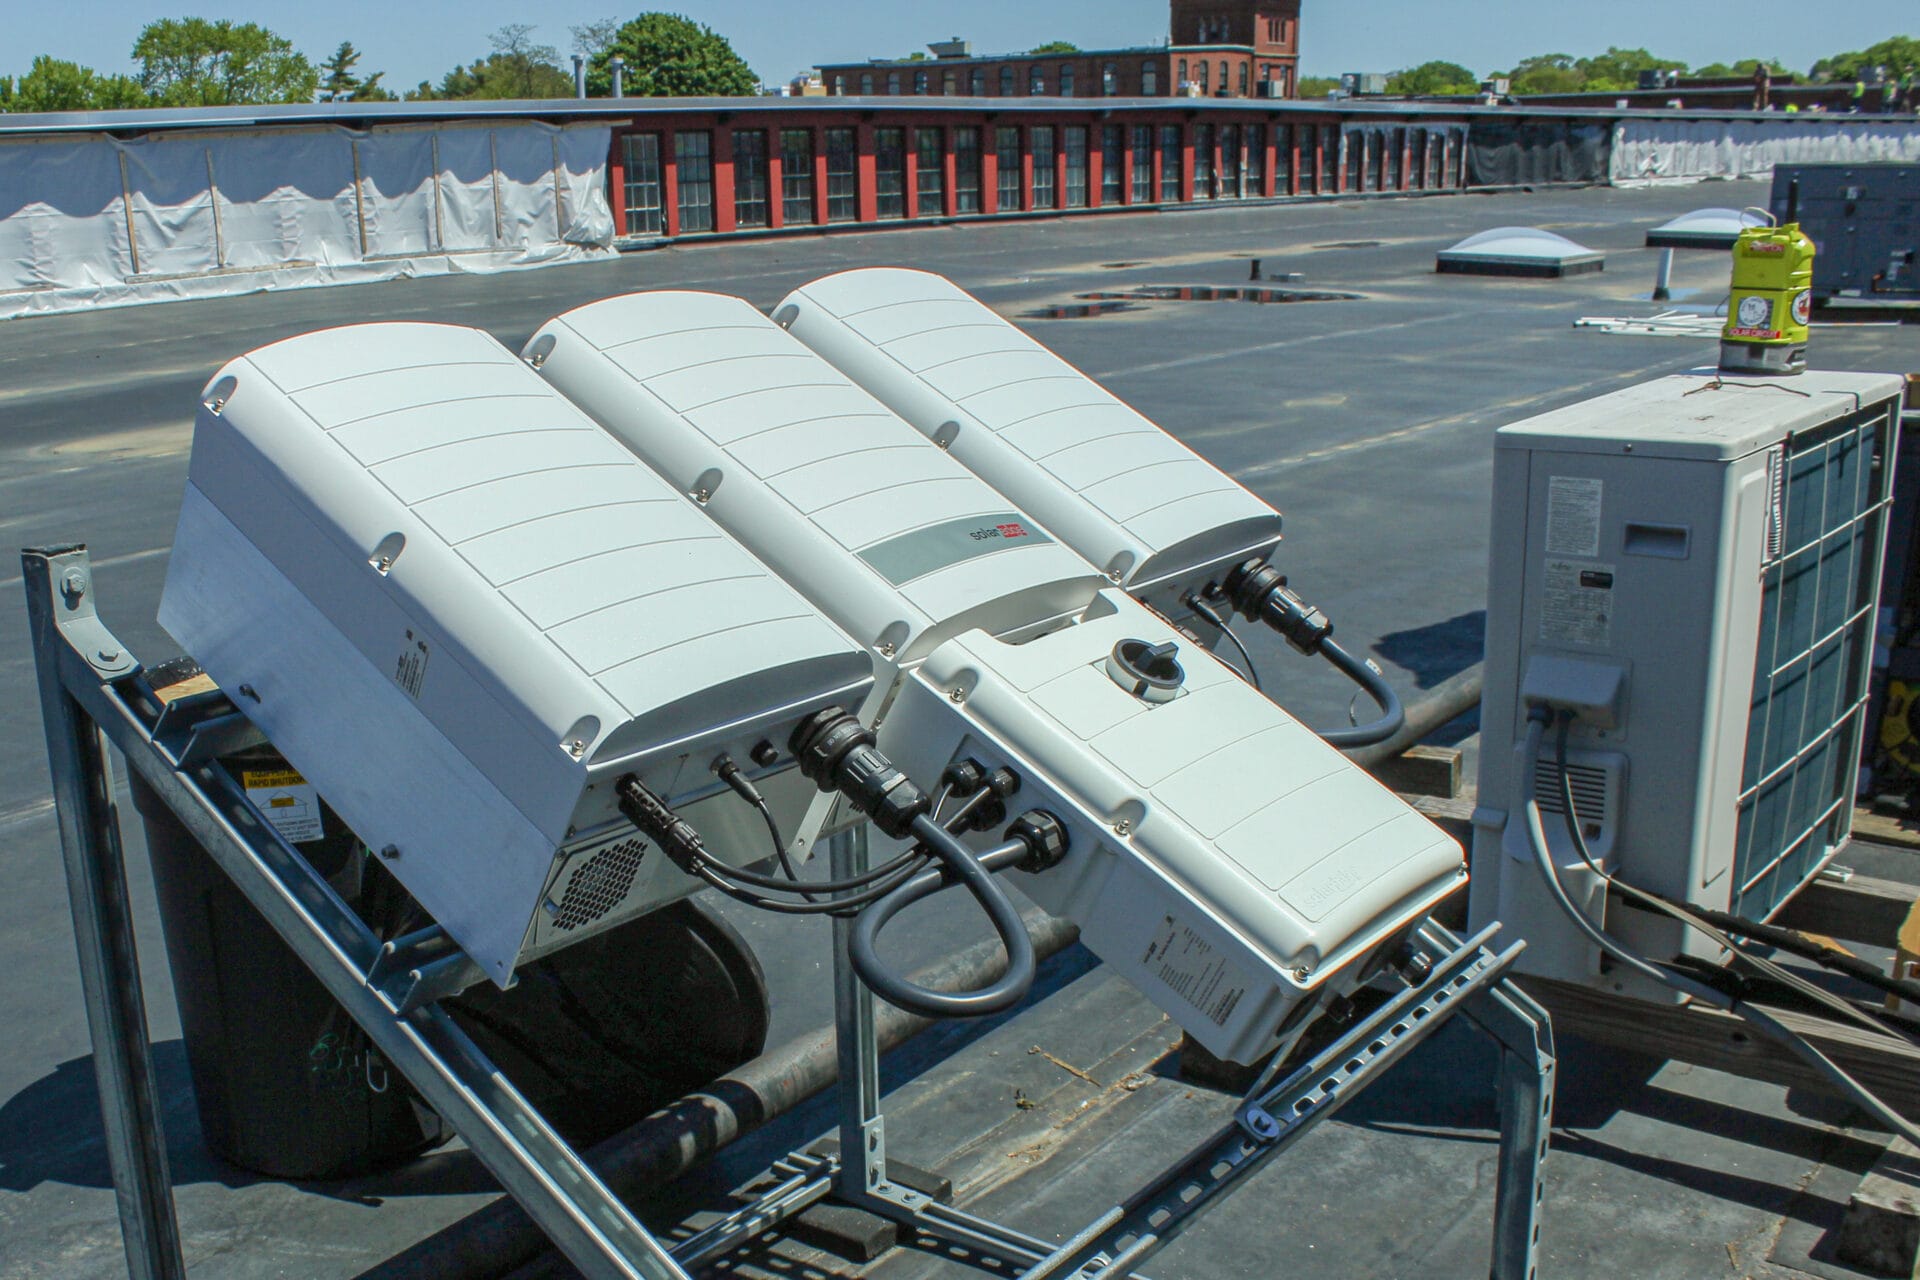
After the solar modules are installed, we will move onto installing solar inverters and other electrical switchgear. We’ll get into that topic on another Rhode Island post.


Solar Project Gallery
commercial solar guy pawtucket ri installation 027
commercial solar guy pawtucket ri installation IMG_20200827_134912
commercial solar guy pawtucket ri installation 022
commercial solar guy pawtucket ri installation SV20
commercial solar guy pawtucket ri installation SV13
commercial solar guy pawtucket ri installation 074
Commercial Solar Guy Pawtucket RI 016
commercial solar guy main street pawtucket ri installationIMG_20200618_112917

Get Started.
Please send a message using the form.

Related Projects
Commercial Solar Power Installation, Brewster Massachusetts
This is a 692,080 watt solar installation at a secure storage facility. We worked to maintain the customer experience throughout the entire process.
Residential Solar Power Installation in Miami, Florida
Installing solar power in Florida is challenging becuase of the hurricanes. Watch a timelapse video of this rooftop installation in Miami.